
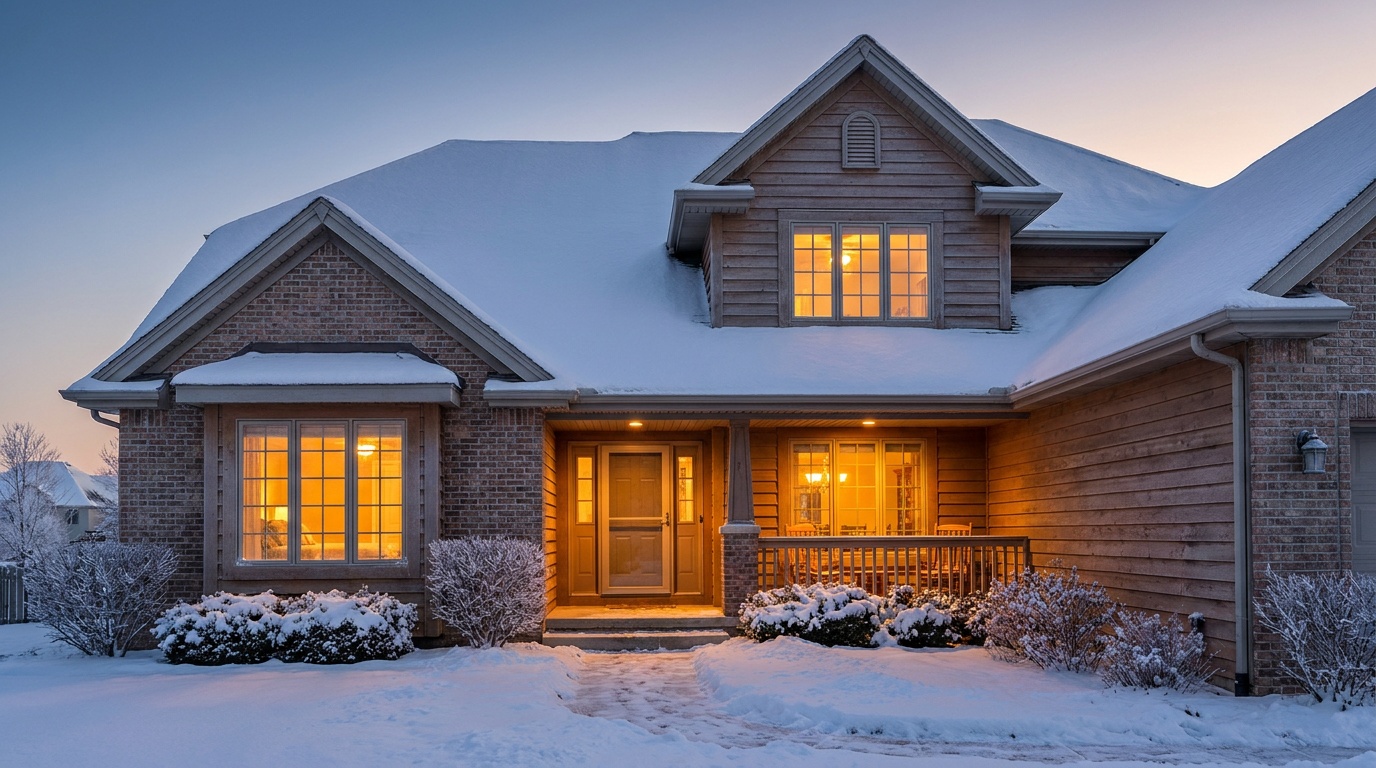
The Essential Pre-Winter Homeowner Checklist for Cold Climates
Reading time: 14 minutes
Ever opened your energy bill in January and felt that gut-punch of sticker shock? Or worse — woken up to a burst pipe on the coldest morning of the year? If you live in a cold climate, winter doesn’t just bring cozy evenings by the fire. It brings real, costly, sometimes dangerous challenges to your home’s structural integrity, heating systems, and your family’s comfort.
Here’s the straight talk: winterizing your home isn’t about paranoia — it’s about smart stewardship. The homeowners who spend a weekend in October doing systematic pre-winter maintenance are the same ones who sail through February without emergency plumber bills or insurance claims. The ones who skip it? They’re the ones searching “emergency HVAC repair near me” at 11 PM in a blizzard.
This checklist is built for cold-climate homeowners — whether you’re in the Great Lakes region, New England, the Upper Midwest, the Canadian Prairies, or the mountainous interior West. In 2026, with energy costs still running 18–22% higher than pre-2022 baselines and extreme weather events intensifying, the financial and safety case for thorough pre-winter preparation has never been stronger.
Let’s turn winter from a threat into a season you’re genuinely ready for.
Table of Contents
- Why Pre-Winter Prep Matters More Than Ever in 2026
- Heating Systems: Your First Line of Defense
- Insulation and Air Sealing: The Invisible Game-Changer
- Protecting Your Plumbing and Pipes
- Roof, Gutters, and Exterior Surfaces
- Windows, Doors, and Weatherstripping
- Safety Systems and Emergency Preparedness
- Priority Comparison: High-Impact vs. Low-Impact Tasks
- FAQs
- Your Winter-Ready Roadmap: Putting It All Together
Why Pre-Winter Prep Matters More Than Ever in 2026
Consider this scenario: In early December 2025, a homeowner in Minneapolis discovered that a small gap around a basement window well — something she’d noticed but never addressed — had allowed enough cold infiltration to freeze a supply line behind her drywall. The repair bill: $4,200, not counting the water damage remediation. The fix that would have prevented it: a $6 tube of expanding foam and twenty minutes of effort in September.
Stories like this aren’t rare. According to the Insurance Information Institute’s 2025 annual report, frozen and burst pipes account for approximately $3 billion in property damage annually in the United States alone, with costs spiking during polar vortex events — which have become measurably more frequent. In Canada, the Insurance Bureau of Canada reported a 31% increase in cold-weather-related home claims between 2023 and 2025.
Beyond damage prevention, there’s the energy equation. The U.S. Department of Energy’s 2026 Residential Energy Consumption data shows that heating accounts for 42–56% of total home energy costs in cold climates. Homeowners who complete systematic weatherization before winter typically reduce their heating bills by 15–30%. On an average annual heating bill of $1,800–$2,400, that’s a savings of $270–$720 every single year.
The bottom line is clear: pre-winter preparation is not a chore — it’s one of the highest-return investments a homeowner can make.
Heating Systems: Your First Line of Defense
Your heating system is the beating heart of your cold-climate home. When it fails in February, everything else becomes secondary. This is where your checklist should start — ideally in September or early October, before the first hard freeze.
Furnace and Boiler Maintenance
Schedule a professional HVAC inspection annually — and make sure it happens before the heating season begins. A qualified technician will check heat exchangers for cracks (a critical safety issue that can lead to carbon monoxide leaks), clean burners, test ignition systems, calibrate the thermostat, and verify that flue passages are clear and properly sealed.
What to do yourself:
- Replace your furnace filter. In cold climates with heavy heating use, switch to a high-efficiency pleated filter (MERV 8–11 rating) and plan to replace it every 60–90 days through winter.
- Clear the area around your furnace of any flammable materials — at least 3 feet of clearance on all sides.
- Check that all heating vents throughout the home are open and unobstructed. Furniture pushed against vents reduces efficiency and can cause system strain.
- For boiler systems, check the pressure gauge (normal range is typically 12–15 psi when cold) and bleed radiators to release trapped air that reduces heating efficiency.
- Test your thermostat by switching to heating mode and confirming the system responds. This is also a good time to upgrade to a smart thermostat if you haven’t already — models in 2026 offer learning algorithms that can further reduce heating costs by 10–12%.
Heat Pumps, Alternative Systems, and Backup Heating
Cold-climate heat pump adoption has surged in recent years, with the U.S. Energy Information Administration reporting that over 4.2 million cold-climate heat pump units were installed in northern states between 2023 and 2025. If you have one, pre-winter maintenance includes: cleaning outdoor unit coils, ensuring adequate clearance around the unit for airflow, and verifying that your backup resistance heat strips are functional for extreme cold days.
Regardless of your primary heating system, having a backup is wise. This might be a wood stove, a gas fireplace, or portable electric space heaters. If you rely on a wood stove or fireplace:
- Schedule a chimney sweep and inspection (National Fire Protection Association recommends annually).
- Stock and season firewood — wood should be split and dried for at least 6 months for efficient burning.
- Check the damper for proper sealing when not in use; a faulty damper is a significant heat-loss culprit.
Pro Tip: Program your smart thermostat with a “setback” strategy — lowering temperatures by 7–10°F when you’re sleeping or away can save up to 10% on annual heating costs without sacrificing comfort.
Insulation and Air Sealing: The Invisible Game-Changer
Here’s something most homeowners don’t realize: air leakage, not just insulation deficiency, is responsible for 25–40% of heating energy loss in the average cold-climate home. You could have R-60 attic insulation and still lose enormous amounts of heat through tiny gaps around electrical outlets, recessed lights, and where pipes or wires penetrate your ceiling or walls.
Attic Insulation and Air Sealing
The attic is where the biggest gains are typically found. Heat rises, and without adequate insulation and air sealing at the attic floor level, you’re essentially heating the outdoors.
Minimum recommended insulation levels for cold climates (Climate Zones 5–7) as of 2026:
- Attic: R-49 to R-60
- Walls: R-20 to R-25+ (with continuous exterior insulation increasingly standard in new construction)
- Floors over unheated spaces: R-25 to R-30
- Basement walls: R-15 to R-20
Before adding more insulation to your attic, air sealing must happen first. Use expanding spray foam or acoustical caulk to seal around: top plates of interior walls, electrical boxes, plumbing and wiring penetrations, and attic hatches. An uninsulated, unsealed attic hatch can negate the value of thousands of dollars in insulation.
Below-Grade and Crawlspace Considerations
Cold-climate homes with basements or crawlspaces face unique challenges. Rim joists — the framing members that sit on top of your foundation wall — are notorious heat-loss and cold-air-infiltration points. Cutting rigid foam insulation to fit and foaming it in place in rim joist cavities is a moderately skilled DIY project that delivers outstanding returns.
Take the case of a homeowner in Burlington, Vermont — a 1960s ranch with a full unfinished basement. After rim joist insulation and basement wall insulation were added in fall 2025, her heating oil consumption dropped by 22% through the following winter, saving her approximately $480 in a single season.
For crawlspaces, the modern best practice in cold climates has shifted toward conditioned crawlspaces — where the crawlspace is enclosed, insulated on the walls rather than the floor, vapor-sealed, and brought inside the thermal envelope. This approach eliminates frozen pipe risk beneath the home and typically reduces heating costs compared to the older “ventilated crawlspace with insulated floor” model.
Protecting Your Plumbing and Pipes
Pipe freezing is one of the most preventable — and expensive — winter disasters. Water expands by approximately 9% when it freezes. A single frozen pipe that bursts can release hundreds of gallons before it’s discovered, causing catastrophic structural and content damage.
Identify your vulnerable pipes:
- Pipes in unheated or under-insulated exterior walls
- Supply lines in unheated garages or crawlspaces
- Any pipes near exterior-facing rim joists
- Pipes in cabinets against exterior walls (under kitchen sinks, bathroom vanities)
Practical protection strategies:
- Pipe insulation sleeves (foam pipe wrap) are inexpensive — typically $0.50–$1.50 per linear foot — and dramatically reduce freeze risk on vulnerable supply lines.
- Heat tape or pipe heating cables are appropriate for pipes in high-risk locations. Look for self-regulating cable rated for your application; these automatically adjust heat output based on ambient temperature.
- Outdoor hose bibs: Disconnect all garden hoses, shut off interior isolation valves feeding outdoor hose bibs (if equipped), and open the bib to drain residual water. Frost-free hose bibs still require hose disconnection — leaving a hose attached defeats their freeze protection entirely.
- Know your main water shutoff. Every adult in your household should know where it is and how to operate it. In a pipe emergency, every second counts.
- If you’ll be away for an extended period, never set your thermostat below 55°F — and consider having a trusted neighbor or smart home monitor with water leak detection keep watch.
Roof, Gutters, and Exterior Surfaces
Your roof and gutters form your home’s first physical defense against winter precipitation. Failures here can cascade into interior water damage, mold, structural deterioration, and ice dam disasters.
Roof inspection checklist:
- Visually inspect from the ground (or hire a professional) for: missing, cracked, or curling shingles; damaged flashing around chimneys, vents, and skylights; and any visible sagging that might indicate structural issues.
- Check attic ventilation. Proper airflow through soffit and ridge vents prevents heat buildup in the attic that contributes to ice dams — a situation where heat escaping through the roof melts snow that refreezes at the cold eaves, creating a dam that forces water under shingles.
- If you’ve had ice dam problems in past winters, installing ice-and-water shield membrane at the eaves during your next roofing project provides long-term protection. As a shorter-term measure, roof heating cables installed in a zigzag pattern along eaves can help manage ice formation.
Gutter maintenance:
- Clean gutters thoroughly after most leaves have fallen — typically late October to mid-November depending on your location. Clogged gutters cause water to back up, freeze, and create ice dams, and can also pull away from fascia under ice weight.
- Ensure downspouts discharge at least 4–6 feet away from your foundation. Extend them if necessary with inexpensive flexible extensions.
- Check gutter hangers and fasteners; these tend to loosen over seasons of freeze-thaw cycling.
Exterior surfaces:
- Inspect exterior caulking around windows, doors, and penetrations. Cracked or missing caulk is a direct pathway for cold air and moisture infiltration.
- Check exterior wood surfaces (decks, siding, trim) for paint peeling or wood deterioration that will worsen with freeze-thaw cycling and moisture exposure.
- Ensure window wells are covered and drained to prevent water accumulation that can infiltrate basements.
Windows, Doors, and Weatherstripping
According to the U.S. Department of Energy, heat loss through windows accounts for 10–25% of a home’s total heating energy use. The good news: significant improvements are achievable without replacing windows entirely.
Run your hand around door and window frames on a cold, windy day. Feel air movement? That’s money leaving your home. Conduct the same test with a stick of incense — smoke disturbance reveals air leaks precisely.
Practical window improvements:
- Replace worn weatherstripping on windows and doors. This is a highly accessible DIY task with materials costing $10–$40 per door or window.
- For older single-pane windows or drafty double-panes, interior window insulation film kits (shrink-wrap film applied with double-sided tape and tightened with a hair dryer) can reduce window heat loss by up to 35%.
- Heavy insulating curtains or thermal cellular shades add meaningful R-value when closed at night — typically R-2 to R-5 depending on the product.
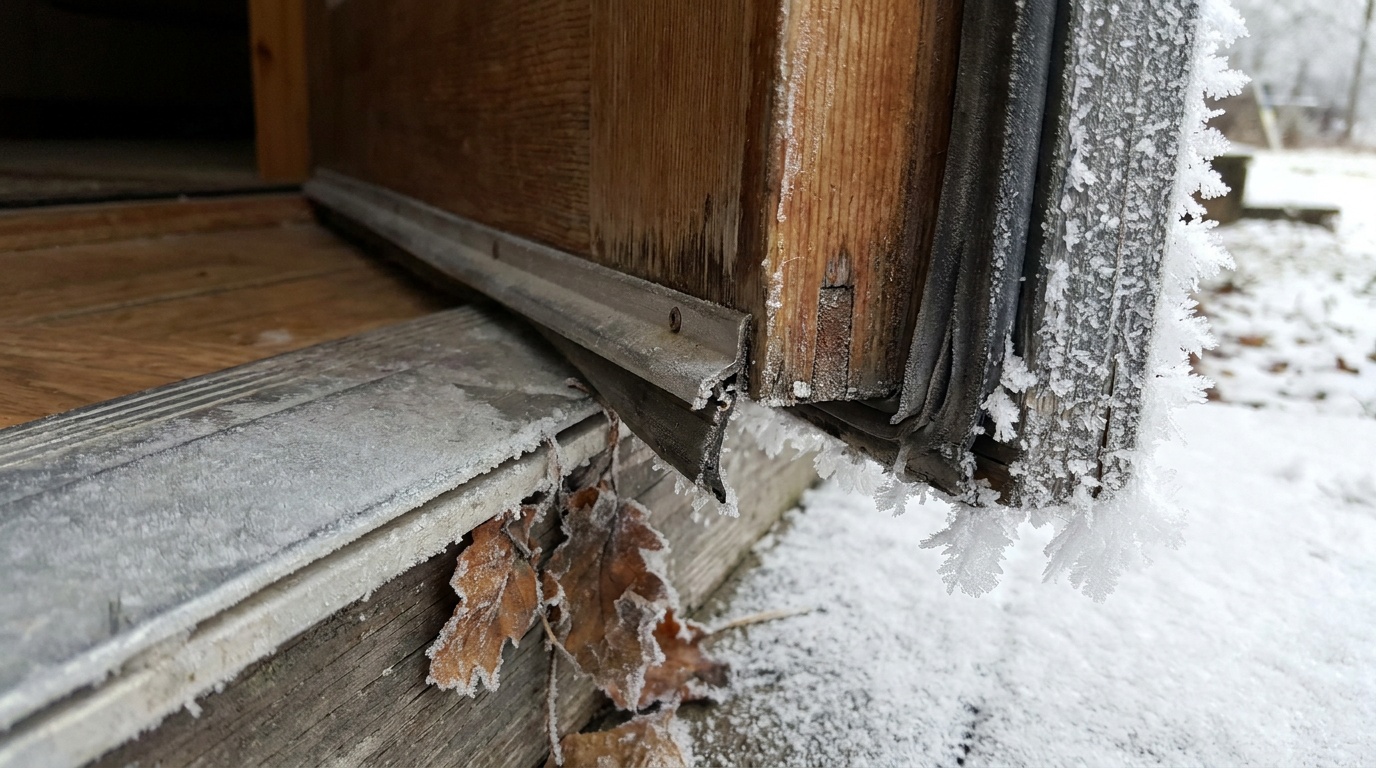
- Check and replace door sweeps on all exterior doors. A door with a worn sweep can allow as much air infiltration as a 2-inch hole in your wall.
- If your budget allows, the Inflation Reduction Act’s residential energy efficiency tax credits remain available through 2026, covering 30% of costs for qualifying window replacements (Energy Star certified, U-factor ≤ 0.27 for Climate Zones 5–7).
Safety Systems and Emergency Preparedness
Winter in cold climates introduces specific safety hazards that don’t exist year-round. Pre-winter is the time to address these systematically.
Carbon monoxide and smoke detectors:
- Test every detector in your home. Replace batteries annually (or use 10-year sealed battery models). CO detectors have a rated lifespan of 5–7 years — check manufacturing dates and replace accordingly.
- Ensure you have a working CO detector on each floor and outside each sleeping area. Combustion heating systems, fireplaces, attached garages, and backup generators all present CO risk.
Generator safety (if applicable):
- Test your generator before you need it. Run it under load for 30 minutes to ensure it’s functioning properly.
- Never run a generator indoors, in an attached garage, or within 20 feet of windows or doors. This is non-negotiable — CO poisoning from improper generator use is a leading cause of storm-related deaths.
- Stock adequate fuel and use fuel stabilizer for gasoline stored longer than 30 days.
Emergency kit for winter power outages:
- Minimum 72-hour supply of water (1 gallon per person per day)
- Non-perishable food for 3–5 days
- Extra blankets, sleeping bags rated for cold temperatures
- Flashlights, headlamps, and extra batteries (or hand-crank/solar charged)
- Battery-powered or hand-crank weather radio
- Portable phone charging bank (keep it charged)
- First aid kit
- At least a quarter tank of fuel in vehicles at all times through winter
Exterior safety:
- Stock ice melt/sand before the first storm — stores often sell out quickly once winter hits.
- Inspect your snow blower or arrange for snow removal service before November. Replace worn paddles, check belts, and add fresh fuel with stabilizer.
- Ensure exterior lighting is adequate — winter’s shorter days mean more time navigating icy paths in the dark.
Priority Comparison: High-Impact vs. Low-Impact Tasks
Not all winterization tasks are created equal. Here’s how key pre-winter actions stack up in terms of cost, impact, and urgency for a typical cold-climate home:
| Task | Avg. Cost (DIY) | Energy/Damage Savings | Difficulty | Priority Level |
|---|---|---|---|---|
| Furnace inspection & filter replacement | $80–$180 (pro) | High – 10–15% efficiency gain | Easy (filter); Pro (inspection) | Critical |
| Attic air sealing & insulation | $300–$1,200 | Very High – up to 25% heat loss reduction | Moderate | Critical |
| Pipe insulation & hose bib winterization | $20–$100 | Extreme – prevents $4,000–$15,000+ damage | Easy | Critical |
| Gutter cleaning & downspout extension | $0–$50 | High – prevents ice dams, foundation water | Moderate | High |
| Weatherstripping & window film | $30–$150 | Moderate – 10–15% window heat loss reduction | Easy | High |
Heating Cost Savings: Impact of Key Winterization Actions
The chart below illustrates estimated annual heating cost reduction percentages achievable through specific winterization measures for a typical cold-climate home (based on 2026 DOE and ACEEE data):
Estimated Annual Heating Cost Reduction by Measure
Source: U.S. DOE, ACEEE 2026 Residential Efficiency Data. Results vary by home age, size, and existing conditions.
Frequently Asked Questions
When exactly should I start my pre-winter home checklist?
The ideal window is September through mid-October for most cold-climate regions in North America. This timing gives you access to HVAC technicians before the rush (scheduling often becomes difficult by late October), allows caulks and sealants to cure properly before freezing temperatures arrive, and ensures you’re well ahead of the first significant freeze. In climate zones 6 and 7 (Minnesota, Wisconsin, Michigan’s Upper Peninsula, northern New England, and most of Canada), start no later than the first week of October. Think of it as a seasonal rhythm: as soon as the leaves begin turning, your winterization window is open.
Can I do most of this myself, or should I hire professionals?
A thoughtful homeowner with basic DIY skills can handle a significant portion of this checklist personally — weatherstripping, pipe insulation, gutter cleaning, filter replacement, caulking, and emergency kit preparation are all accessible DIY tasks. However, certain items genuinely require professional expertise: furnace/boiler inspection and servicing (involving combustion safety and heat exchanger integrity), chimney inspection and cleaning, significant attic work, and any electrical work involving your heating system. A good rule of thumb: anything involving combustion or gas lines gets a professional every time. For energy audits — which can help you prioritize the highest-return investments — look for certified auditors through the Building Performance Institute (BPI). Many utilities offer subsidized audits in 2026 as part of their energy efficiency programs.
What’s the single most impactful thing I can do if I only have one weekend to prepare?
If time is genuinely limited, prioritize pipe protection and heating system basics. Disconnect and drain all outdoor hoses, insulate any exposed supply pipes in unheated spaces, confirm your furnace filter is fresh and the unit is functioning, and test your CO and smoke detectors. This combination addresses the two most common and costly winter home failures: burst pipes and heating system breakdowns. As a close second, spend an hour with a tube of exterior caulk sealing obvious gaps around windows, doors, and foundation penetrations. You won’t capture every efficiency gain, but you’ll eliminate the highest-stakes risks and that matters most. Then schedule time in spring to plan a more comprehensive weatherization project before next winter.
Your Winter-Ready Roadmap: Putting It All Together
Here’s the reality of cold-climate homeownership: winter doesn’t negotiate. It arrives on its own schedule, and the question isn’t whether it will test your home — it’s whether your home will pass the test.
The homeowners who navigate winters confidently aren’t necessarily spending more money or working harder. They’re working smarter — addressing vulnerabilities systematically, before the cold arrives, when options are plentiful and prices are fair.
Here is your five-step action roadmap to implement everything covered in this guide:
- Book your HVAC inspection first (September). This is your non-negotiable starting point. Call today — appointment slots fill quickly. While you wait, replace filters and test your thermostat.
- Tackle the air and water vulnerabilities (late September – early October). Seal exterior caulking, replace weatherstripping, insulate vulnerable pipes, winterize hose bibs, and clean gutters. Budget a weekend and you’ll cover the majority of DIY tasks.
- Conduct your attic and basement assessment (October). Check insulation levels, seal rim joists, verify attic ventilation, and consider a professional energy audit if you haven’t had one in the past five years. This is where the biggest long-term energy savings live.
- Audit your safety systems (October). Test every CO and smoke detector, check your emergency kit, service your generator, and stock ice melt and snow removal equipment. Don’t let an ice storm catch you with empty supplies.
- Create your winter monitoring habit (November onward). After the first significant snowfall, check your roof for ice dam formation. Monitor your heating bill monthly — a sudden unexplained spike often signals a developing problem. Keep your main water shutoff location known to everyone in the household.
As climate patterns continue to produce more volatile winter weather — alternating between record warmth and polar vortex events that stress homes in ways their builders never anticipated — the homeowners who maintain systems diligently will be protected both physically and financially. The 2026 residential insurance landscape increasingly rewards documented maintenance with lower premiums; some insurers now offer 5–8% discounts for homes with verified smart thermostats, leak detection systems, and regular HVAC service records.
So here’s the question to sit with as you head into this preparation season: What would it cost you — in dollars, stress, and disruption — if your home failed this winter? And what would it feel like to know, before the first snowflake falls, that you’ve done everything possible to make sure it won’t?
That feeling of confident readiness? That’s what this checklist is really for. Your home is one of your most significant investments. Protect it like it is.
Article reviewed by Hans Müller, Industrial Architecture & Concrete Restoration Specialist, on May 4, 2026