
Pressure Washing Siding: Essential Dos and Don’ts to Avoid Damage
Reading time: 12 minutes
You’ve finally rented that pressure washer, you’re standing in your driveway ready to transform your home’s exterior, and then — pause. Do you actually know what you’re doing? Because here’s the straight talk: pressure washing siding is one of those tasks that looks deceptively simple but can go spectacularly wrong if you approach it without the right knowledge.
In 2026, homeowners spend an average of $350–$800 per year on exterior home maintenance, and a significant chunk of avoidable repair costs — estimated at over $1.2 billion annually in the U.S. — stem from improper pressure washing techniques that damage siding, push water behind panels, and crack caulking seals. The irony? Most of that damage is entirely preventable.
Whether you’re dealing with vinyl, wood, fiber cement, stucco, or brick siding, this guide walks you through every critical decision point — from the right PSI settings to the angles that protect rather than destroy. Let’s turn this potential weekend disaster into a genuine home improvement win.
Table of Contents
- Why Pressure Washing Siding Actually Matters
- Choosing the Right Equipment
- The Essential Dos: Best Practices That Work
- The Critical Don’ts: Mistakes That Cost Homeowners Thousands
- Siding-Specific Guidelines: What Works for Each Material
- 3 Common Challenges and How to Overcome Them
- PSI Pressure Guide: Visual Reference
- Siding Material Comparison Table
- Frequently Asked Questions
- Your Clean Home Action Plan
Why Pressure Washing Siding Actually Matters
Before we dive into technique, let’s talk about the why — because understanding the stakes makes you a more careful, effective cleaner.
Your siding is the first and most visible layer of your home’s weather protection system. Over time, it accumulates mold, mildew, algae, dirt, oxidation, and biological growth that don’t just look bad — they actively degrade the material beneath. Algae, for instance, holds moisture against siding surfaces, accelerating rot in wood and weakening the structural integrity of fiber cement boards.
According to a 2025 National Association of Realtors report, homes with clean, well-maintained exteriors command 5–10% higher resale values compared to equivalent homes with visibly neglected siding. That’s a meaningful return on a Saturday afternoon project.
But here’s where it gets complicated: a pressure washer isn’t a magic wand. It’s a high-powered tool that, in the wrong hands, can strip paint, crack boards, force water into wall cavities causing mold and rot behind your siding, and even create void warranties on newer siding products. The difference between a beautifully cleaned home and a costly repair project often comes down to just a few key decisions.
“The number one call we get after DIY pressure washing isn’t ‘my siding looks great’ — it’s ‘I think I pushed water behind my wall.'” — Marcus Delray, Certified Exterior Restoration Specialist, speaking at the 2025 Home Improvement Professionals Summit
Choosing the Right Equipment
Gas vs. Electric Pressure Washers
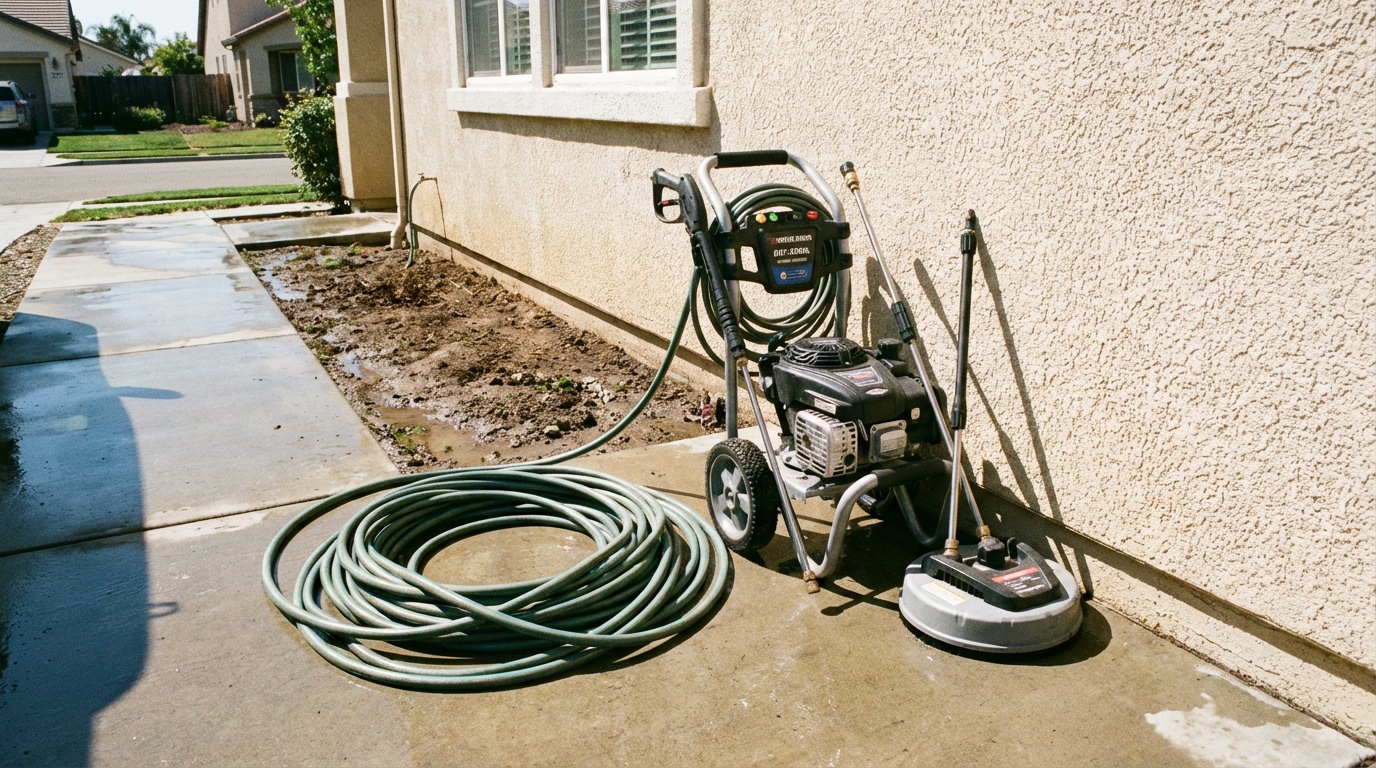
In 2026, the consumer pressure washer market has expanded dramatically, with electric models now delivering competitive performance at price points starting around $150–$400. For most residential siding projects, a 1,200–1,900 PSI electric pressure washer is genuinely sufficient — and considerably safer than the gas-powered units that can blast at 3,000+ PSI.
Gas-powered pressure washers are better suited for commercial applications, concrete cleaning, or stripping heavy buildup from driveways. When it comes to siding — especially vinyl or wood — their raw power is more liability than asset.
Key equipment considerations:
- PSI (Pounds per Square Inch): Measures water pressure. Lower is often safer for siding.
- GPM (Gallons Per Minute): Measures water flow. Higher GPM with moderate PSI can clean more effectively with less surface stress.
- Nozzle selection: This is arguably the single most important equipment decision you’ll make.
Understanding Nozzle Colors and Angles
Pressure washer nozzles come color-coded by spray angle, and choosing the wrong one is where most beginners make their first — and most damaging — mistake.
- Red (0°): Pinpoint stream. Never use on siding. Period. This can cut wood and blast holes in vinyl.
- Yellow (15°): Narrow, aggressive. Suitable for concrete. Risky on most siding types.
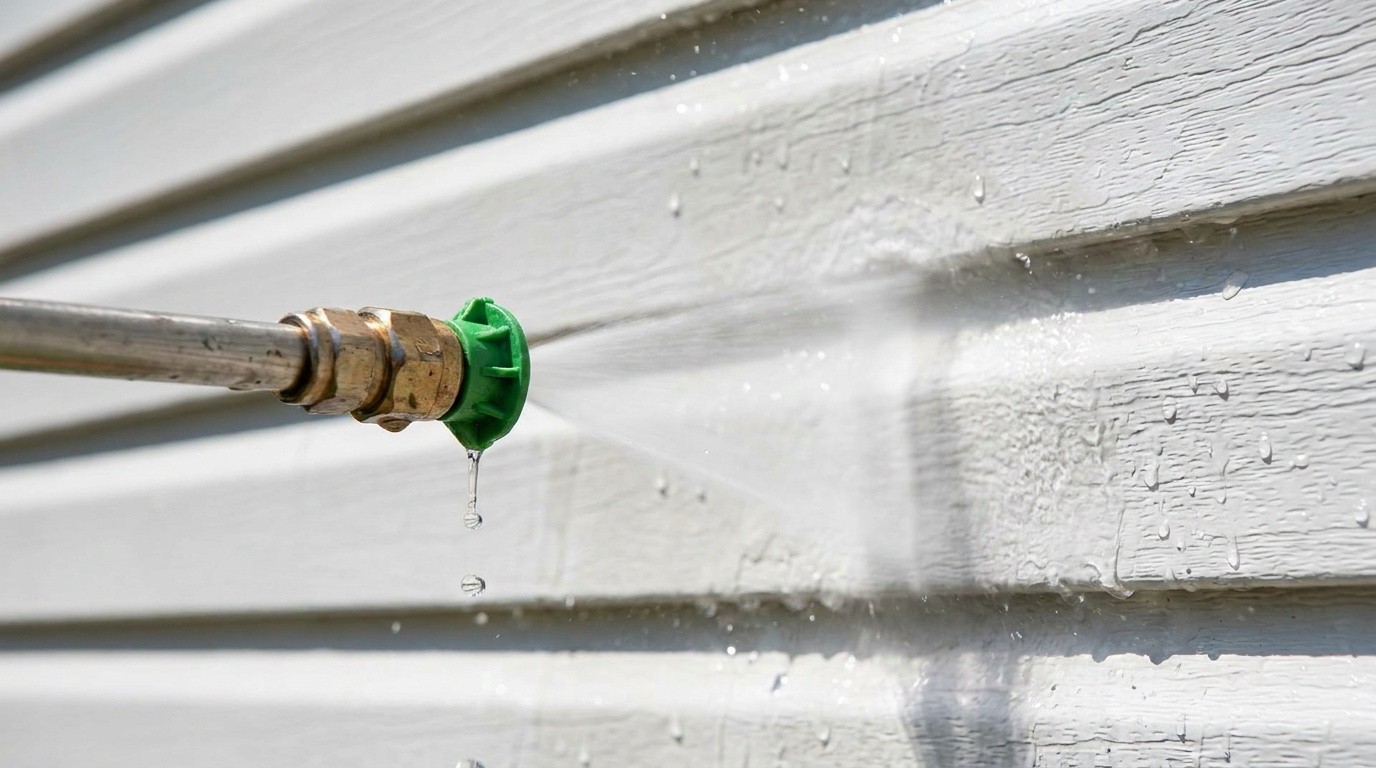
- Green (25°): General cleaning. Acceptable for hardy siding like brick at appropriate distances.
- White (40°): Wide, gentle spray. The go-to for vinyl, wood, and fiber cement siding.
- Black (65°/Soap Nozzle): Low pressure, wide spray. Used specifically for applying detergent.
Pro Tip: When in doubt, go wider. You can always step closer for more cleaning power. You cannot undo damage from a nozzle that was too narrow or too close.
The Essential Dos: Best Practices That Work
Do Start with a Thorough Pre-Wash Inspection
Walk your entire home exterior before touching the pressure washer. You’re looking for:
- Cracked or loose siding panels that could be further damaged by water pressure
- Gaps in caulking around windows, doors, and trim where water can penetrate
- Areas of existing mold or mildew that need pre-treatment
- Electrical outlets, fixtures, or HVAC vents that need covering
- Fragile landscaping, painted surfaces, or vehicles nearby that need protecting
Take your time here. A 15-minute inspection can prevent a $2,000 repair bill.
Do Use Appropriate Detergents for Your Siding Type
Clean water alone handles surface dirt. But for mold, mildew, oxidation, and biological growth, you need a purpose-formulated cleaning solution. In 2026, several eco-certified exterior siding cleaners have become mainstream — products like Simple Green Oxy Solve and newer biodegradable options are effective without damaging surrounding vegetation or local waterways.
The application method matters: always apply detergent at low pressure using the black soap nozzle, working from bottom to top to prevent streaking. Then rinse from top to bottom. This counterintuitive approach is one of the most consistently overlooked best practices.
Do Maintain Consistent Distance and Angle
Hold the wand at a consistent 12–18 inches from the surface for most siding types, adjusting closer (carefully) for stubborn buildup. More critically, maintain a downward angle of approximately 45 degrees, never shooting upward. Water forced upward beneath siding panels is the primary cause of hidden moisture damage and subsequent mold growth in wall cavities.
Do Protect Surrounding Areas
Before you start, cover:
- Electrical outlets and exterior lighting fixtures (use plastic bags and tape)
- Air conditioning units and exposed HVAC components
- Landscaping beds — wet them down first, as saturated soil absorbs runoff better
- Windows (close them securely; consider covering decorative trim)
- Any nearby vehicles, outdoor furniture, or decorative elements
Do Work in Sections and in Shade
Divide your home into manageable sections and complete each one — detergent application, dwell time, rinse — before moving to the next. Avoid working in direct sunlight, which causes detergent to dry on the surface before you can rinse it, leaving streaks and residue. Early morning or overcast days are ideal.
The Critical Don’ts: Mistakes That Cost Homeowners Thousands
Don’t Use Excessive Pressure
This is the cardinal rule. More pressure does not mean cleaner — it means more damage potential. Here’s a real-world example that illustrates the point:
Case Study: The Hendersons in Charlotte, NC (2025)
In the spring of 2025, a Charlotte homeowner rented a commercial-grade 3,200 PSI gas pressure washer, assuming more power meant better results on their aging vinyl siding. Within two hours, they had created visible surface scarring, blown out two caulked window seals, and — as they discovered three months later when interior mold appeared — forced significant water infiltration into the wall cavity behind their living room. The total remediation cost: $4,800, compared to an estimated $200 professional soft-wash service that would have safely achieved the same cleaning goal.
Don’t Spray Upward Beneath Siding Panels
Siding is designed to shed water downward. Every horizontal lap, every panel overlap, every bottom edge is engineered to let gravity do its job. The moment you angle your pressure washer upward — even slightly — you’re working against that design, forcing water into areas that have no drainage path. This is how moisture gets trapped in wall insulation, how wooden structural components rot, and how mold colonies establish themselves invisibly inside walls for months before you notice a problem.
Don’t Skip the Pre-Wet Step
Always wet down your siding with plain water before applying any detergent. This prevents cleaners from being immediately absorbed into porous surfaces and ensures even distribution. Skipping this step leads to streaking, uneven cleaning, and potential chemical staining — particularly on stucco and wood siding.
Don’t Neglect Personal Protective Equipment
High-pressure water can cause serious injuries. In 2025, emergency rooms in the U.S. treated an estimated 6,000+ pressure washer-related injuries, many involving lacerations from direct contact with the water stream. Always wear:
- Safety goggles or glasses
- Closed-toe shoes (preferably rubber-soled boots)
- Long pants to protect legs from debris
- Gloves when handling cleaning chemicals
Don’t Pressure Wash in Freezing Conditions
If overnight temperatures are below 40°F (4°C), avoid pressure washing. Water infiltrating any small gaps or cracks in your siding can freeze, expand, and dramatically worsen existing issues. This is a particular concern in early spring cleanings in northern climates.
Siding-Specific Guidelines: What Works for Each Material
Vinyl Siding
The most common siding material in North America. Vinyl is relatively forgiving but can crack under high pressure, especially older or cold-temperature vinyl. Use 1,000–1,500 PSI maximum, white (40°) nozzle, and always sweep horizontally across panels rather than blasting at a single point.
Wood Siding
Requires the most care of any siding type. Wood can splinter, absorb excess moisture, and have paint stripped even at moderate pressures. Use 500–1,000 PSI with a wide-angle nozzle, and consider whether a soft wash approach (very low pressure + stronger cleaning solution) might be more appropriate. Always allow wood siding to dry completely — typically 48–72 hours — before repainting or staining.
Fiber Cement (Hardie Board)
More durable than wood but still sensitive to high pressure and moisture infiltration. Use 1,500–2,000 PSI maximum with a 25° or 40° nozzle, maintaining 18–24 inches distance. Pay particular attention to edges and cut ends, which are the most vulnerable points on fiber cement.
Stucco
Highly porous and particularly susceptible to water infiltration. Use 1,000–1,500 PSI and move the wand continuously — never hold the stream on one spot. Hairline cracks in stucco should be repaired before pressure washing, not after.
Brick
The most pressure-tolerant exterior material, accepting up to 2,500–3,000 PSI, but the mortar between bricks is much more vulnerable. Keep pressure below 2,000 PSI when the mortar is older or visibly deteriorating, and inspect post-cleaning for any dislodged or eroded mortar that needs repointing.
3 Common Challenges and How to Overcome Them
Challenge 1: Stubborn Black Streaks and Mildew
The problem: Black streaks running down siding — often from roof runoff — and greenish mildew patches resist basic water cleaning.
The solution: Pre-treat affected areas with a dedicated mildew-removing solution containing sodium hypochlorite (diluted bleach) at approximately a 1:10 ratio with water. Apply using a garden sprayer or low-pressure soap nozzle, allow 5–10 minutes of dwell time, then rinse thoroughly. For recurring mildew in shaded areas, consider applying a mildewcide treatment post-cleaning to inhibit regrowth.
Challenge 2: Streaking After Washing
The problem: After rinsing, you notice streaks running vertically down the siding — particularly common on older vinyl and painted wood.
The solution: Streaking almost always results from either rinsing top-to-bottom before finishing detergent removal, working in direct sunlight, or insufficient detergent coverage in the first pass. The fix: re-apply detergent to affected sections, ensure the entire surface is uniformly wet, and rinse systematically from the highest point downward using overlapping strokes.
Challenge 3: Water Intrusion Signs After Washing
The problem: You notice water stains on interior walls or soft spots in exterior sheathing weeks after pressure washing.
The solution: This indicates water has infiltrated past your siding. Immediately inspect all caulked joints, window and door seams, and panel overlaps for gaps. Address any openings with exterior-grade caulk. If interior moisture damage is present, consult a professional — attempting DIY remediation without understanding the extent of infiltration can trap moisture and worsen the situation significantly.
PSI Pressure Guide: Visual Reference
Recommended Maximum PSI by Siding Material
Blue = High tolerance | Orange = Moderate caution | Red = High caution required
Siding Material Comparison Table
| Siding Type | Max PSI | Best Nozzle | Damage Risk | Special Notes |
|---|---|---|---|---|
| Vinyl | 1,500 PSI | White (40°) | Medium | Sweep horizontally; cold vinyl cracks easily |
| Wood | 1,000 PSI | White (40°) | High | Allow 48–72hr dry before repainting |
| Fiber Cement | 2,000 PSI | Green (25°) | Medium | Protect cut edges; keep 18–24″ distance |
| Stucco | 1,500 PSI | White (40°) | High | Repair cracks before washing; keep wand moving |
| Brick | 3,000 PSI | Green (25°) | Low–Medium | Watch mortar condition; inspect post-wash |
Frequently Asked Questions
How often should I pressure wash my home’s siding?
For most climates and siding types, once per year is the standard recommendation — typically in late spring after pollen season. Homes in humid, shaded environments where mold and mildew grow aggressively may benefit from twice-yearly cleaning. However, excessive frequency can wear down protective coatings on painted surfaces and accelerate weathering on wood siding. If you’re cleaning primarily for curb appeal or before repainting, once every 1–2 years is typically sufficient for well-maintained siding in temperate climates.
Should I hire a professional or do it myself?
This depends on your siding material, the age of your home, and your comfort level with equipment. For vinyl siding on a newer home with intact caulking and no visible damage, DIY pressure washing is a reasonable weekend project with the right precautions. For wood, stucco, or older homes with aging caulk seals and potentially compromised sheathing, a professional soft-wash service is worth the investment. In 2026, professional exterior washing services typically run $200–$600 for an average home — a modest cost compared to the potential repair expenses from moisture damage caused by improper technique.
Can I pressure wash painted siding without stripping the paint?
Yes — with the right settings. Use a maximum of 1,200–1,500 PSI with a wide-angle (40°) nozzle, maintain at least 12–18 inches of distance, and avoid lingering on any single area. Be aware that if your paint is already peeling, chipping, or chalking, pressure washing will accelerate that degradation. In that case, consider it an opportunity: pressure wash to remove loose paint, inspect the underlying surface, then repaint. Never pressure wash over clearly failing paint and expect it to hold — water will find every weakness.
Your Clean Home Action Plan
Here’s the honest truth about pressure washing siding: the difference between a homeowner who saves money and preserves their home’s value versus one who creates expensive hidden damage almost never comes down to the equipment they use. It comes down to preparation, knowledge, and patience.
As smart home maintenance tools and moisture detection technology become increasingly accessible in 2026 — with some newer pressure washers even featuring built-in pressure sensors and auto-shutoff systems — the resources available to DIY homeowners are better than ever. But fundamentals still matter most.
Your Immediate Implementation Checklist:- Inspect before you spray. Walk the full perimeter, identify vulnerabilities, seal any gaps in caulking, and cover electrical fixtures.
- Match your PSI and nozzle to your siding material. Use the comparison table in this guide as your reference point — keep it bookmarked on your phone while you work.
- Apply detergent bottom-to-top; rinse top-to-bottom. This single technique eliminates most streaking issues before they start.
- Stay at 45 degrees and never spray upward. Angle always matters more than distance when it comes to preventing water infiltration.
- Inspect your interior walls 2–3 weeks post-washing. Check for any new moisture stains, particularly around windows and doors, to catch any infiltration early before it becomes a major problem.
In an era where home values and maintenance costs continue climbing — the average U.S. home maintenance cost in 2026 sits at roughly 1–2% of home value annually — protecting your investment with informed, careful maintenance decisions is one of the highest-leverage things you can do as a homeowner.
So here’s the question worth sitting with: Is your next pressure washing session going to be the one that adds value to your home — or the one that quietly starts costing you money you won’t notice until it’s too late? With the knowledge in this guide, you now have every tool to make sure it’s the former.
Article reviewed by Hans Müller, Industrial Architecture & Concrete Restoration Specialist, on May 4, 2026