
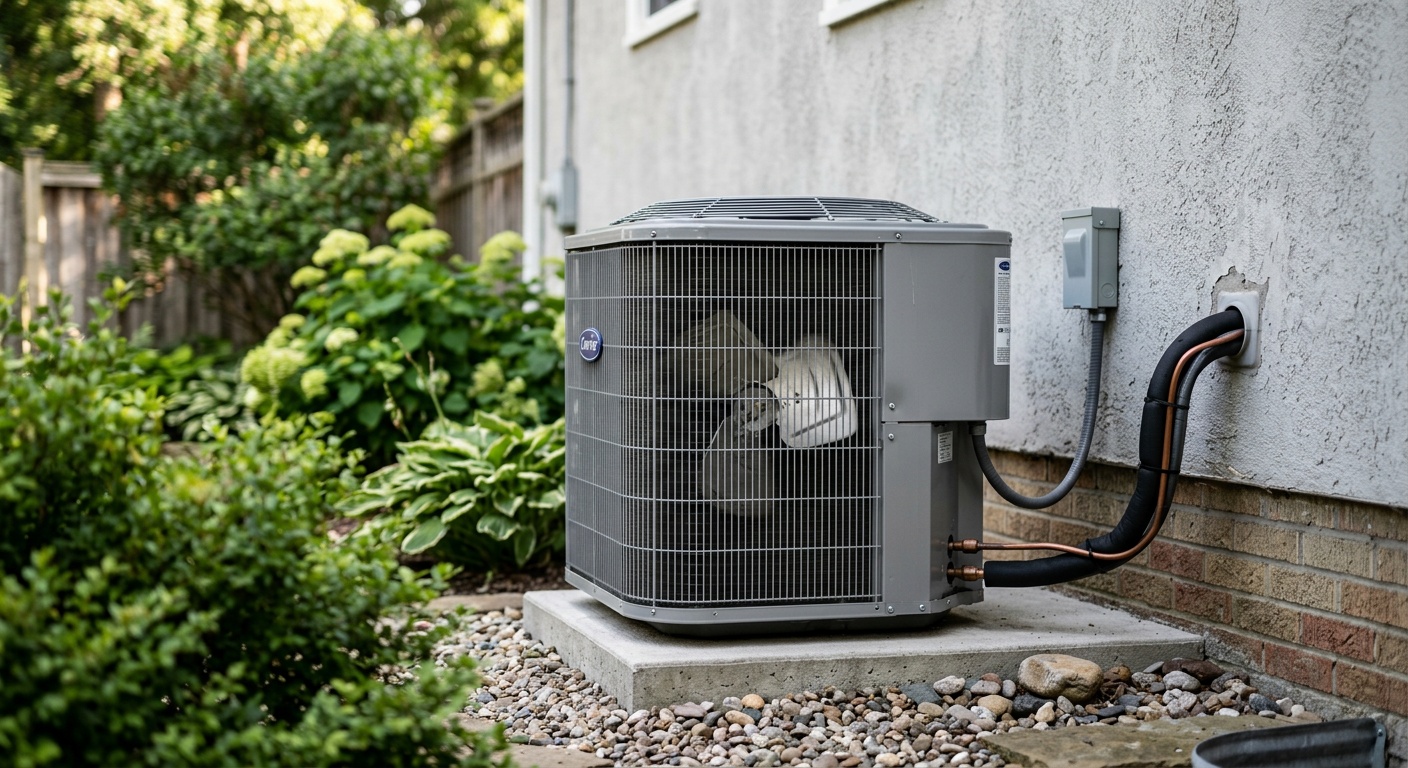
Summer HVAC Maintenance Checklist Every Homeowner Needs
Reading time: 12 minutes
It’s June. The temperature outside is already pushing 95°F, and you flick on the air conditioner for the first time this season. Nothing happens. Or worse — it blows warm, musty air while your energy bill quietly skyrockets. Sound familiar? If you’ve been there, you know the gut-punch feeling of a failing HVAC system on the hottest day of the year.
Here’s the straight talk: most summer HVAC breakdowns are entirely preventable. According to the Air Conditioning Contractors of America (ACCA), approximately 80% of HVAC system failures in 2025 could be traced back to inadequate maintenance — not mechanical defects. That’s a staggering number, especially when you consider that a mid-summer emergency repair call in 2026 averages between $350 and $900, depending on the issue and your region.
This guide isn’t about overwhelming you with technical jargon. It’s a strategic, room-by-room, system-by-system roadmap that turns HVAC maintenance from a dreaded chore into a confident, empowering habit. Whether you’re a first-time homeowner or someone who’s been managing a house for decades, there’s actionable insight here for you.
Table of Contents
- Why Summer HVAC Maintenance Matters More Than Ever in 2026
- Before You Start: Safety and Preparation Essentials
- The Core Summer HVAC Maintenance Checklist
- DIY vs. Professional Service: Knowing the Line
- Efficiency Upgrades Worth Considering in 2026
- 3 Common Challenges and How to Overcome Them
- HVAC Efficiency Impact: Visual Breakdown
- Maintenance Cost vs. Repair Cost Comparison
- Frequently Asked Questions
- Your Summer Comfort Action Plan: Next Steps
Why Summer HVAC Maintenance Matters More Than Ever in 2026
The summers of 2024 and 2025 broke global heat records, and climate scientists project that 2026 will bring equally intense heat waves across North America, Europe, and Asia. The U.S. Energy Information Administration (EIA) reported in early 2026 that residential cooling costs rose by 14% year-over-year, driven by longer cooling seasons and aging infrastructure in millions of homes.
Beyond comfort, there are real health and financial stakes. The CDC estimates that heat-related illnesses account for over 65,000 emergency room visits annually in the U.S., with vulnerable populations — elderly residents, children, and those with chronic conditions — at greatest risk when indoor cooling fails.
Your HVAC system isn’t just a luxury. In 2026, it’s a critical home infrastructure asset. Treating it that way starts with a structured maintenance approach.
“A well-maintained HVAC system operates 15–20% more efficiently than a neglected one, and its lifespan extends by 5–7 years on average.” — Dr. Marcus Reid, ASHRAE Fellow and HVAC Systems Engineer, 2025 Annual Energy Report
Before You Start: Safety and Preparation Essentials
Before touching a single component of your HVAC system, set yourself up for success. Think of this as the pre-flight checklist before the main event.
Tools and Supplies You’ll Need
- New air filters (sized correctly for your system — check the existing filter or your owner’s manual)
- Screwdriver set (flathead and Phillips)
- Fin comb (for straightening condenser fins)
- Garden hose with a gentle spray nozzle
- Wet/dry vacuum
- Coil cleaner spray (available at HVAC supply stores or online)
- Digital thermometer
- Flashlight or headlamp
- Safety gloves and eye protection
Critical Safety Steps Before You Begin
Always shut off power to your HVAC system before performing any hands-on maintenance. Locate your system’s disconnect box (usually near the outdoor condenser unit) and turn it to the OFF position. Additionally, switch off the circuit breaker inside your home’s electrical panel that corresponds to the air conditioning system. Never skip this step — high-voltage components inside condenser units can cause serious injury, even when the thermostat is set to off.
Also, give your outdoor unit at least 30 minutes to de-energize before opening any panels. Capacitors inside the unit can retain dangerous electrical charges even after power is disconnected.
The Core Summer HVAC Maintenance Checklist
Let’s get into the meat of it. This checklist is organized by location and task type so you can work through it systematically without backtracking or missing steps.
Indoor Unit Tasks
1. Replace or Clean Air Filters
This is the single most impactful maintenance task you can perform. A clogged filter forces your system to work harder, reduces airflow, and can lead to frozen evaporator coils. In summer, replace disposable filters every 30 days if you’re running the system heavily. If you have pets or allergy sufferers in your home, consider upgrading to a MERV 11–13 rated filter. In 2026, smart filter subscription services like FilterEasy and Second Nature have become increasingly popular — they deliver the right filters on schedule so you never forget.
2. Clean the Evaporator Coil
The evaporator coil sits inside your air handler or furnace cabinet. Over time, it accumulates dust and biological growth, reducing its ability to absorb heat efficiently. Use a no-rinse evaporator coil cleaner spray — apply it, let it foam, and it drains away through the condensate line. If coils appear heavily coated or you see visible mold, call a professional.
3. Clear the Condensate Drain Line
The condensate drain removes moisture extracted from indoor air. A clogged drain line is one of the leading causes of water damage and system shutdowns. To clear it: locate the PVC drain line (usually near the indoor unit), pour a cup of distilled white vinegar into the access port, let it sit for 30 minutes, then flush with water. Do this once a month during peak cooling season. Some homeowners also use condensate drain tablets (available for about $8–$12 for a pack of 12) that dissolve slowly and prevent algae buildup.
4. Inspect the Condensate Drain Pan
While you’re at the drain line, check the drain pan underneath the evaporator coil for standing water, rust, or cracks. Standing water indicates a drainage problem. A cracked pan needs to be replaced before water damage occurs.
5. Check Blower Motor and Fan Blades
The blower circulates conditioned air through your ducts. Inspect the fan blades for dust buildup — heavy accumulation throws them off balance and strains the motor. Gently wipe blades clean with a damp cloth. If the motor has oil ports, add a few drops of 10-weight non-detergent motor oil. Many modern blower motors are sealed and require no lubrication — check your manual.
6. Inspect Ductwork for Leaks
The U.S. Department of Energy estimates that duct leakage accounts for 20–30% of energy loss in a typical home HVAC system. Run your hand along accessible duct joints while the system is running and feel for air escaping. Seal visible gaps with mastic sealant or metal-backed foil tape — not regular duct tape, which degrades quickly.
Outdoor Unit (Condenser) Tasks
7. Clear Debris Around the Unit
Your outdoor condenser needs at least 2 feet of clearance on all sides for proper airflow. Remove leaves, grass clippings, mulch, and any vegetation that’s crept too close. Trim shrubs or overhanging branches. Keeping the area clear also discourages animals from nesting inside the unit during off-seasons.
8. Clean the Condenser Coils and Fins
This is where most of the heat rejection happens. Dirty condenser coils dramatically reduce efficiency. With power completely off, gently rinse the coil fins from the inside out using a garden hose on a low-pressure setting. Never use a pressure washer — it will damage the delicate aluminum fins. If fins are bent, use a fin comb to carefully straighten them. Straightened fins can improve efficiency by 5–10% according to HVAC industry benchmarks.
9. Inspect the Refrigerant Lines
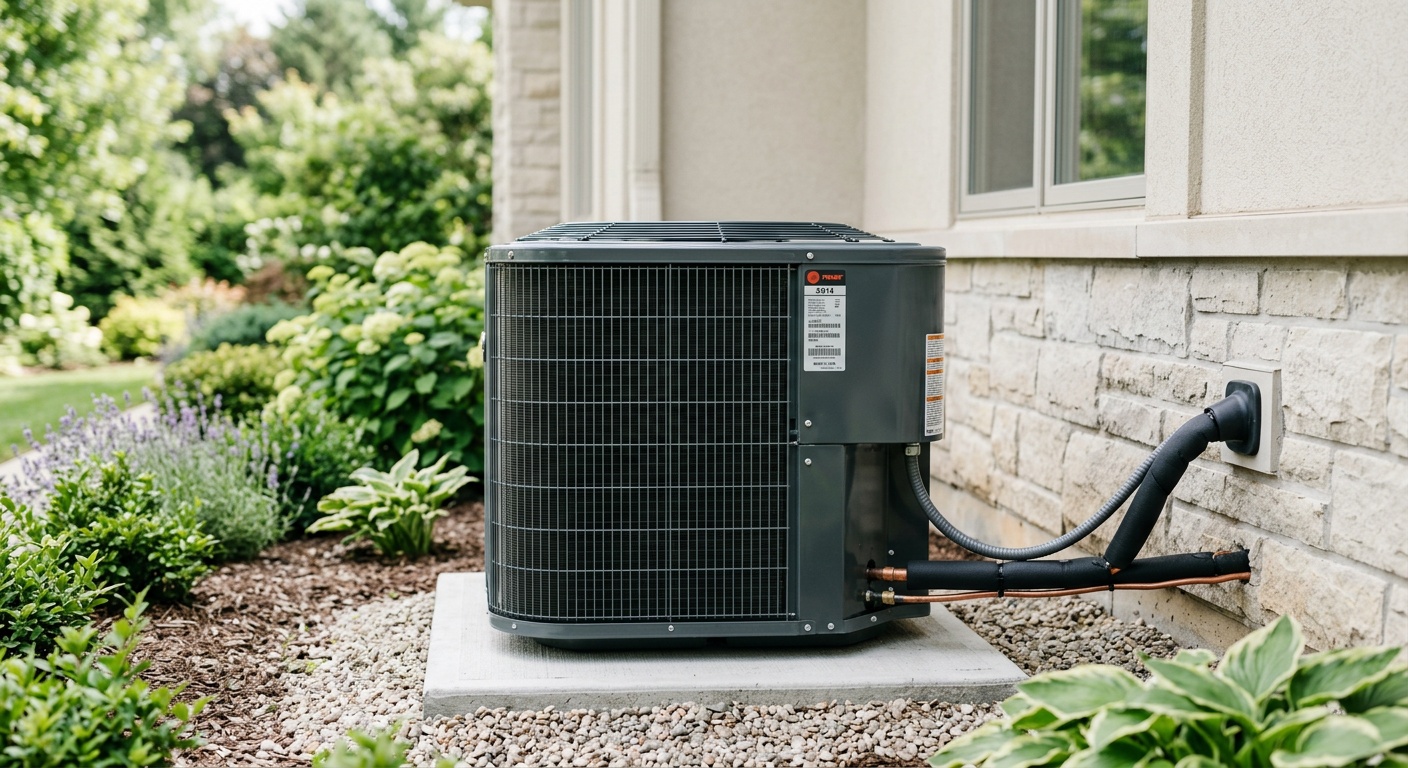
The insulated copper lines running from your outdoor unit to the indoor unit carry refrigerant. Check that the insulation (called “line set insulation” or “armaflex”) is intact — cracked or missing insulation reduces system efficiency and can lead to condensation dripping inside your walls. Replace damaged sections with foam pipe insulation, available at any hardware store for under $5 per linear foot.
10. Check Electrical Connections and Capacitors
With power off, open the access panel on the outdoor unit and visually inspect wiring for signs of corrosion, burning, or fraying. Do not touch capacitors — they can hold lethal charges even when disconnected. If you notice bulging, leaking, or physically damaged capacitors, this is a job for a licensed technician. Failing capacitors are the #1 cause of compressor failure in residential AC systems.
11. Test System Operation
After completing your maintenance, restore power, set your thermostat to cooling mode, and lower the setpoint 5 degrees below room temperature. Within a few minutes, you should feel cool air from the vents. Use a digital thermometer to check: the air exiting supply vents should be 15–20°F cooler than the air being pulled into the return vent. A smaller differential may indicate a refrigerant issue or airflow problem.
12. Calibrate and Test Your Thermostat
A miscalibrated thermostat can cause your system to short-cycle (turn on and off too frequently) or run longer than necessary. If you still have an older analog thermostat, 2026 is a great year to upgrade to a smart thermostat — models like the Ecobee SmartThermostat Premium or Google Nest Learning Thermostat now integrate with most modern HVAC systems and can reduce cooling costs by up to 23%, according to manufacturer data validated by independent testing in 2025.
DIY vs. Professional Service: Knowing the Line
Let’s be real — not everything on an HVAC system is a weekend DIY project. Here’s a straightforward breakdown of what you can confidently do yourself versus what requires a licensed technician.
Do It Yourself:
- Replace air filters
- Clean condenser fins with a garden hose
- Clear debris around the outdoor unit
- Flush the condensate drain line with vinegar
- Replace line set insulation
- Clean accessible ductwork vents and registers
- Upgrade thermostat
Call a Professional:
- Refrigerant testing, charging, or leak detection (requires EPA 608 certification)
- Electrical component replacement (capacitors, contactors, wiring)
- Evaporator or condenser coil replacement
- Blower motor or compressor repairs
- Full duct sealing or replacement
- System sizing or load calculations for new equipment
Quick Scenario: Imagine you’ve done everything on this checklist perfectly, but your system is still blowing air that isn’t cold enough. You check the temperature differential and it’s only 8°F instead of 15–20°F. That’s likely a refrigerant issue — either a leak or undercharge. This is a situation where calling a professional immediately prevents a small problem from becoming a $2,000+ compressor failure. Don’t wait.
Most HVAC companies offer annual maintenance agreements in 2026 for between $150 and $300 per year, which typically includes two tune-ups (spring and fall), priority service scheduling, and discounts on repairs. For homeowners who prefer not to handle any maintenance themselves, these plans are excellent value.
Efficiency Upgrades Worth Considering in 2026
If your system is 10 years or older, doing maintenance is necessary but might not be sufficient. Here are three upgrades with strong return on investment in the current market:
Variable-Speed Inverter Systems: Traditional HVAC units run at 100% capacity or not at all. Inverter-driven systems, which became mainstream in 2023–2025, modulate compressor speed to match actual cooling demand. They’re 30–50% more efficient than single-stage units and dramatically reduce humidity. In 2026, federal tax credits of up to $600 per year remain available for qualifying high-efficiency HVAC equipment under the Inflation Reduction Act extensions.
Smart Zoning Systems: Rather than cooling your entire home to the same temperature, zoning allows you to set different temperatures in different areas. Combined with a smart thermostat, a properly implemented zoning system can cut cooling costs by 20–30% in homes larger than 2,000 square feet.
Whole-House Dehumidifiers: High humidity makes 78°F feel like 85°F. Supplemental dehumidification allows you to raise your thermostat setpoint while maintaining comfort, reducing runtime. In humid climates like the Southeast U.S. or Gulf Coast, this upgrade typically pays for itself within two to three cooling seasons.
3 Common Challenges and How to Overcome Them
Challenge 1: The System Freezes Up
You walk past your air handler and notice ice forming on the refrigerant lines or around the indoor coil. Counterintuitively, a freezing AC is a sign of inadequate heat absorption — usually caused by restricted airflow (dirty filter, blocked vents) or low refrigerant. Solution: Immediately turn the system to “fan only” mode and let it thaw completely (2–4 hours). Replace the air filter, ensure all vents are open and unobstructed, and run the system again. If it freezes again within 24 hours, call a technician for a refrigerant check — do not keep running it, as compressor damage will follow.
Challenge 2: Unusual Noises From the System
Different sounds indicate different problems. A banging or clanking sound suggests a loose or broken part inside the compressor or blower. A squealing sound typically indicates a belt or bearing issue in older systems. A clicking that doesn’t stop usually points to a failing relay or electrical control. And a hissing or bubbling sound near the indoor unit often indicates a refrigerant leak. Solution: Document the sound (record a video on your phone), identify where it’s coming from, and consult with an HVAC technician. Ignoring unusual sounds rarely leads anywhere good — and it’s much cheaper to address a minor component issue before it cascades into a full system failure.
Challenge 3: Inconsistent Temperatures Room to Room
One bedroom is freezing while the living room never seems to cool down. This is one of the most common — and most frustrating — comfort complaints. The cause is usually duct imbalance, poor insulation, or inadequate return air pathways. Solution: Start by ensuring all supply and return vents are fully open and unobstructed. Have a technician perform an airflow balance (adjusting dampers inside ductwork) during your annual tune-up. For persistent issues, consider adding a mini-split to problematic zones rather than oversizing your main system.
HVAC Efficiency Impact: Visual Breakdown
The chart below illustrates how different maintenance actions impact overall system efficiency, based on 2025–2026 industry data from ENERGY STAR and ASHRAE field studies.
Efficiency Gain by Maintenance Task (%)
Maintenance Cost vs. Repair Cost Comparison
One of the most compelling arguments for proactive maintenance is the financial math. Here’s how routine maintenance costs stack up against typical repair costs in 2026:
| Task / Issue | Preventive Cost | Repair/Replacement Cost | Potential Savings | Difficulty (DIY) |
|---|---|---|---|---|
| Air Filter Replacement | $8–$25/month | $400–$1,500 (frozen coil damage) | Up to $1,475 | Easy |
| Condenser Coil Cleaning | $0–$50 (DIY) | $1,800–$3,000 (compressor failure) | Up to $2,950 | Moderate |
| Condensate Drain Flushing | $0–$10 (DIY) | $250–$900 (water damage repair) | Up to $890 | Easy |
| Annual Professional Tune-Up | $80–$150 | $500–$2,500 (emergency repair) | Up to $2,350 | Professional |
| Refrigerant Line Insulation | $10–$30 (DIY) | $150–$400 (mold/moisture damage) | Up to $370 | Easy |
Frequently Asked Questions
How often should I service my HVAC system during summer?
For homeowners who are actively maintaining their systems, a monthly filter check and replacement is the minimum during peak summer months. A thorough DIY inspection of outdoor and indoor components should be done at least once before summer begins — ideally in late April or early May before temperatures climb. A professional tune-up is recommended annually; if you have an older system (10+ years) or one that runs heavily, twice-yearly professional service (spring and fall) is a smart investment. In 2026, many HVAC companies offer summer priority scheduling to maintenance agreement holders, which is particularly valuable during heat wave periods when appointment wait times can stretch to 5–7 days.
Can I clean my AC condenser coils myself, or is that a job for a professional?
Yes, basic condenser coil cleaning is absolutely a DIY-friendly task — with the right precautions. Always shut off all power to the unit before starting. Use a garden hose (not a pressure washer) to rinse the coils from the inside out, flushing debris outward. A commercial coil cleaner spray can handle heavier buildup. What you want to avoid is bending the delicate aluminum fins with water pressure or tools. If coils appear heavily corroded, physically damaged, or you notice refrigerant oiling around them (a sign of a leak), stop and call a professional. For most homeowners doing their first cleaning, watching a few instructional videos specific to your unit model before starting is a smart move.
What’s the ideal thermostat temperature setting for summer efficiency?
The U.S. Department of Energy and ENERGY STAR both recommend 78°F (25.5°C) when you’re home and awake, 85°F (29°C) when you’re away, and 82°F (27.8°C) when sleeping, as a baseline for energy efficiency. That said, comfort is personal — the key insight is the setback strategy, where you raise the temperature when the house is unoccupied rather than trying to cool an empty home. A smart thermostat automates this effortlessly. For every degree you raise your setpoint above 72°F, you save approximately 3% on cooling costs. Pair this with ceiling fans (remember: fans cool people, not rooms — turn them off when you leave) and your comfort-to-cost ratio improves dramatically.
Your Summer Comfort Action Plan: Next Steps
You’ve got the knowledge. Now let’s turn it into action. Here’s your practical 5-step implementation roadmap:
- This Week: Check and replace your air filter. It takes 5 minutes and is the highest-impact thing you can do right now. While you’re at it, pour a cup of vinegar into your condensate drain access port.
- This Weekend: Head outside, clear all debris around your condenser unit, and give the coils a gentle rinse with your garden hose. Check that insulation on refrigerant lines is intact. Straighten any bent fins with a fin comb.
- Within 2 Weeks: Schedule a professional tune-up if you haven’t had one in the past 12 months. Don’t wait until July — technician availability drops sharply as heat waves arrive. Book in May or early June.
- This Month: Audit your thermostat strategy. If you’re still using a traditional thermostat, 2026 federal tax credit eligibility makes this an ideal year to upgrade to a smart model. Calculate your potential savings using the ENERGY STAR savings estimator.
- Ongoing: Set a monthly calendar reminder for filter checks and condensate drain flushing. Consistency is the engine of HVAC longevity.
As climate patterns continue to intensify and energy costs trend upward through 2026 and beyond, your HVAC system’s efficiency is no longer just a comfort question — it’s a financial and health resilience question. Homeowners who treat HVAC maintenance as a strategic priority are consistently better positioned when heat waves hit, when energy bills spike, and when systems age.
Here’s your challenge: Before you close this tab, write down one HVAC maintenance task you’ve been putting off and schedule it for the next 72 hours. That single act of follow-through is what separates a comfortable, efficient summer from a reactive, expensive one. Your future self — and your wallet — will thank you for it.
Article reviewed by Hans Müller, Industrial Architecture & Concrete Restoration Specialist, on June 8, 2026